Quick, head to PageSpeed Insight and check your website’s speed.
If you’re like the rest of us, the images are likely playing a big part in screwing up its loading time.
And given how important image optimization is for on-page SEO, this isn’t a matter that you should ignore.
For higher speed, better UX and improved ranking, let’s jump right in on how to do image optimization in SEO:
1) Choose unique images
One-third of all Google searches are for images.
If you’re using the same picture that other websites – who assumingly have higher PageRank – are using, you’ll rank poorly. And even if you manage to rank high, CTR would remain low.
Pixabay is my favorite choice for royalty-free images.
Recommended Read: JPG or PNG- Which Image Format To Use In Your Blog Posts
2) Crop its size to perfectly fit the slot
If your webpage can only fit 600px wide image but the original size of your image is 1000px, without any doubt it will slow down the loading time, even with setting the parameter of ‘width=“600px”’.
So, crop your original image to perfectly fit the dimension of your webpage.
ImageResize.org is a great image optimization tool for this.
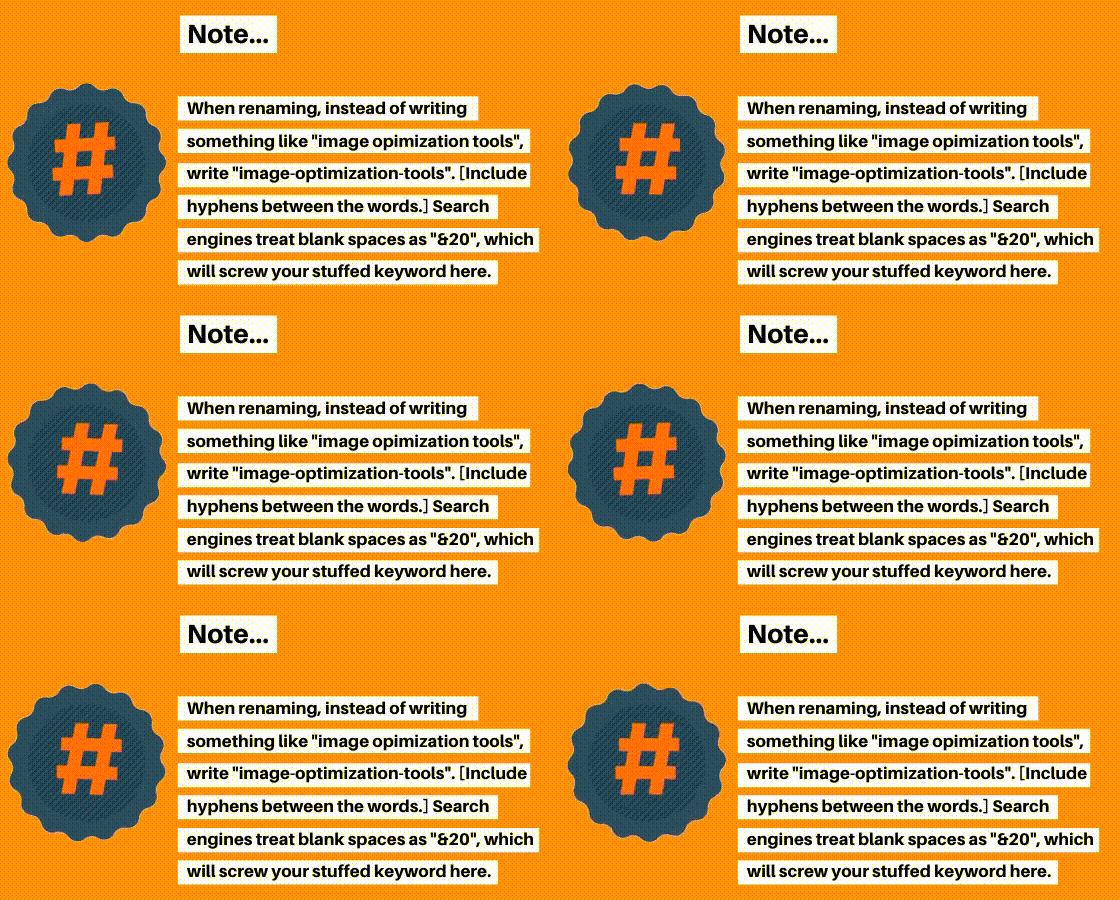
3) Rename it in your local disk
Change the name of your images on the local drive. Include your primary keywords.
4) Compress it (Duh)
There are many lossless compression tools available that cut back on the image’s size (kilobytes) without messing up its quality level.
Use TinyJPG or CompressJPG.
5) Remove Hyperlinks from the Image
When you upload the image to your blog, some platforms automatically create a new link to the original location of the image. If someone clicks on that image, they are taken to a new page with the full-size picture.
This is an unnecessary step, which might even leak SEO juice to the individual, irrelevant image pages.
Also, at times, due to the difference in the dimension of the original image and on-screen image, you can face the problem of the same image being served from 2 different sources; given two different links are involved in the source code. This can severely slow down the page.
So, remove hyperlinks from image source code.

6) Include title and alt-text
This is quite a no-brainer. Always include a caption, title and alt text in images.
<img alt=”what are some best blogging” height=”400″ src=”#url” title=”Productivity Tips for Bloggers” width=”600″>
7) Include Height and Width
An overlooked among all image optimization techniques…
When you include height and width in the image tag, the browser detects and leaves the space of that dimension and continues loading the rest of the page. The images and texts are loaded simultaneously.
This prevents the layout shift, which then go on to improve the user-experience, a key search ranking factor.
The loading time of your blog will considerably decrease, users’ experience will increase and ranking improved.
Recommended Read: How Many Images To Use In An Article?
